
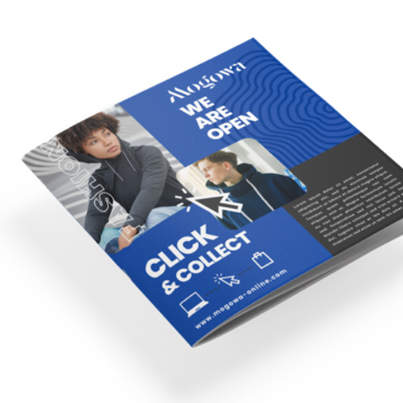
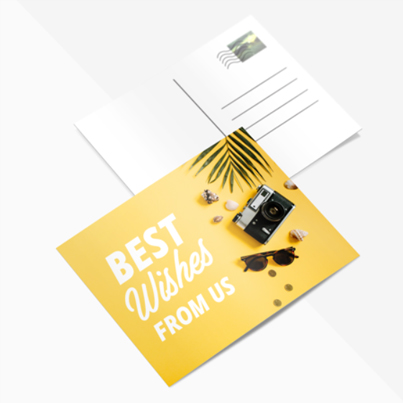
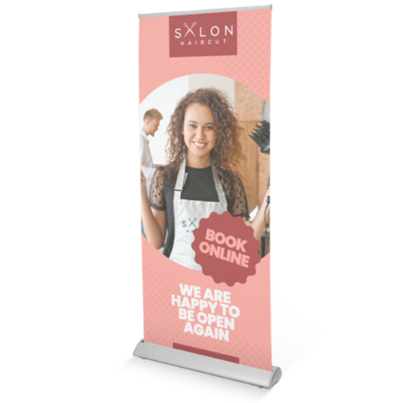
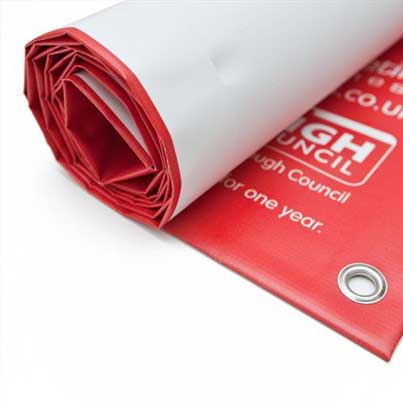



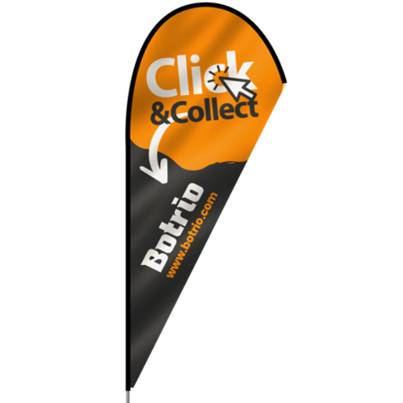


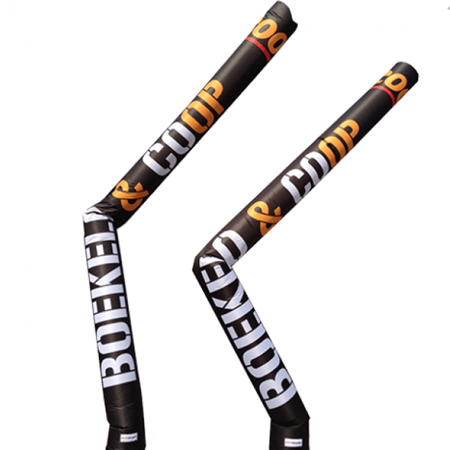
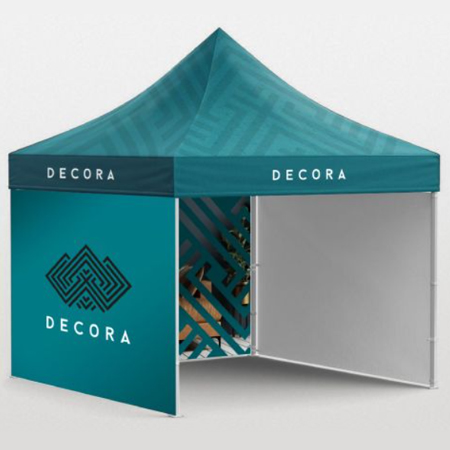
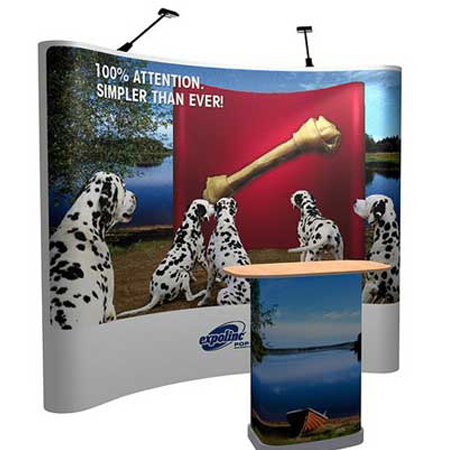
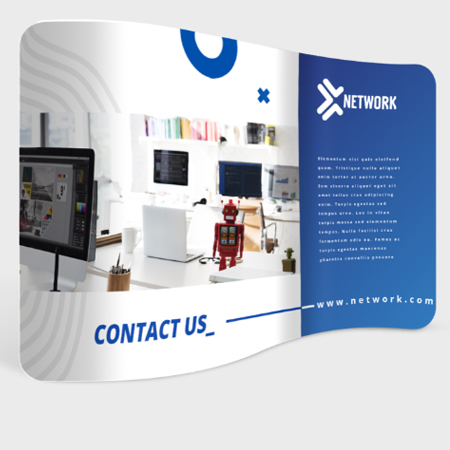


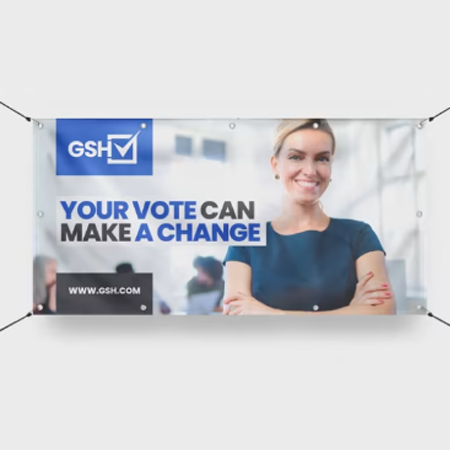
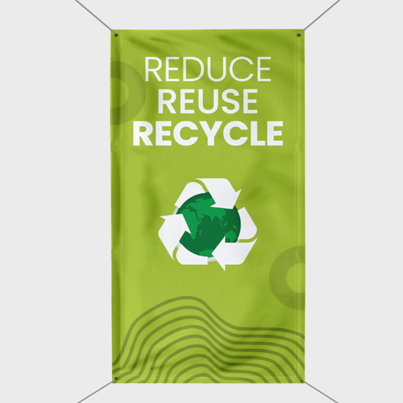


Large Banner Printing is a simple, and appealing method to elevate recognition for your brand name. Our experts, at Print Crowd, wish to make certain that your advertisement printing process is tremendously quick and easy, which is actually why we are actually going to help you with the 1st step, putting together your data. One of the necessary things to remember is that you need to have to utilise a different data set-up than you would along with small items.
Appropriate file set-up helps make producing sizeable advertisements so much easier. Not just because handling large files on computers can be slow.
Follow these quick and easy and fast steps to aid you set-up Large Banner Printing:
1 Established your dimensions
The very first step to putting together your banner printing is actually deciding the dimensions. Be sure to place in the precise measurements of your desired size. Don’t stress, if the data is much larger, it may effortlessly be lowered by reducing the resolution
2 Specify the resolution.
A usual false opinion is that large banners need to have a higher resolution than ordinary. That is certainly not the case. Not just will your computer system have a tough time handling your work, but you’ll also be stuck with a gigantic file.
Banners as well as various other substantial print items don’t need a resolution of 300dpi, commonly used for print items, necessary for close up viewing like posters, sales brochures, and leaflets. A banner is actually supposed to from a meter or 2 away, so our experts recommended that your file are no more than 200dpi. For larger distances, keep it around 150dpi.
 3 Use CMYK colour mode
The required colour mode for all printing products is CMYK. If your banner data is specified to RGB colour style, your layout colours are going to appear totally different than viewed on screen.
4 Determine the bleed
Regardless of just how big your print is, it definitely needs bleed. For large banner printing, our team recommend you incorporate a bleed on all sides of your artwork of 5 mm. Generating a bleed will ensure that if the cutting device goes past the cutting line, your banner is will not have a slim white line at the side.
5 Specify the margin
A margin is actually important for all print to be certain that when a guillotine cuts within the trim marks, required details will not be cut.
In the case of banners, larger margins need to be used, our experts recommend to make sure that your content and photos go to minimum 50 mm beyond the side of the complete size.
6 Save your file
Commercial printers allow most forms of documents, however the most suitable is normally PDF, jpg, or psd. You also need to flatten your art work to a singular layer for effortless swift publishing.
If you choose to send an Illustrator document with your style, make certain that you have actually turned all fonts to outlines. This guarantees that the typefaces used will definitely be maintained in the duration of printing.
Now you are prepared to set up your own design file for your large banner printing artwork. Ensure that you keep these guidelines in mind the next time you’re creating large banners.